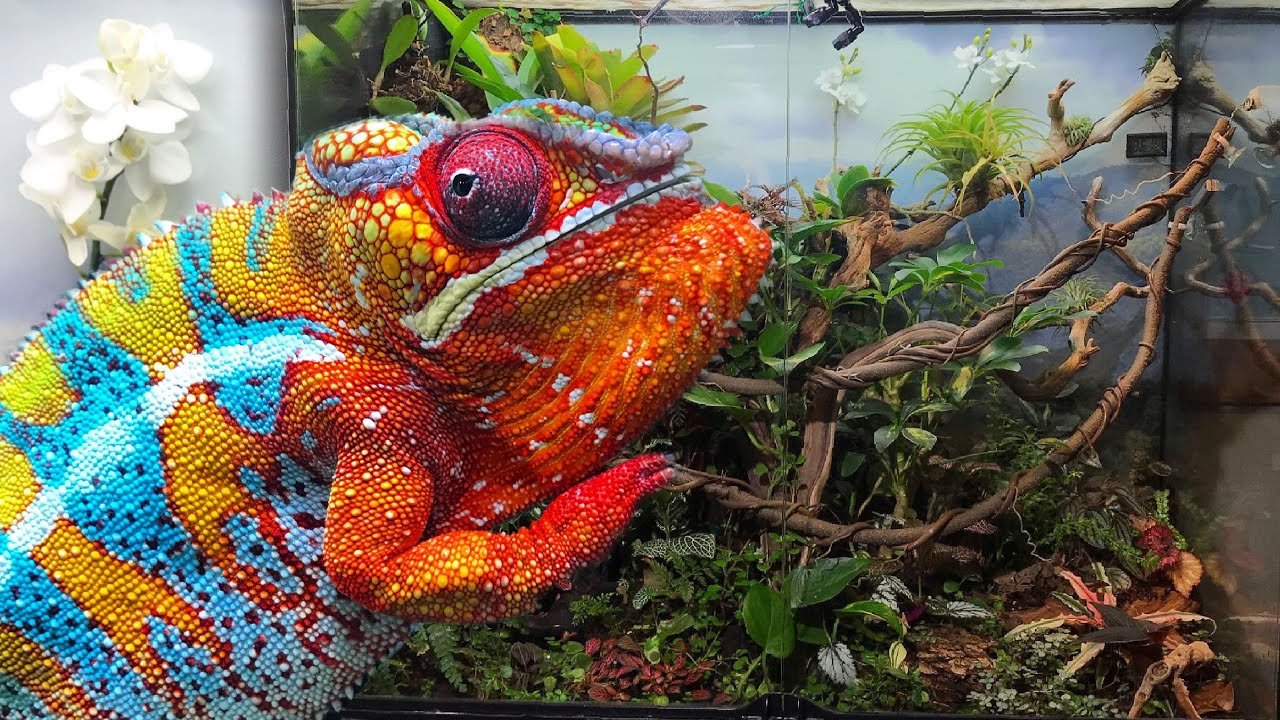
A bioactive enclosure is the ultimate way to provide your pet chameleon with a naturalistic habitat that thrives.
By cultivating a living ecosystem inside the terrarium, you harness the power of plants, microfauna and natural processes to create a balanced, self-sustaining environment.
Constructed properly, a bioactive vivarium gives your chameleon the ideal conditions to not just survive, but truly flourish.
In this comprehensive guide, you’ll learn everything needed to make a thriving bioactive chameleon cage tailored specifically for chameleons.
We’ll cover choosing the right enclosure, constructing proper drainage, selecting ideal substrate materials, planting, decorating, maintaining optimal temperature and humidity levels, incorporating clean-up crews, feeding and much more.
Follow these steps to create a perfectly balanced ecosystem your chameleon will relish.
Why Go Bioactive?
Transitioning to a bioactive setup brings many benefits:
- Self-cleaning – Detritivore species like isopods and springtails live in the substrate and consume waste, eliminating the need for spot cleaning.
- Natural humidity – Live plants and the substrate help regulate humidity levels and create beneficial microclimates.
- Improved health – A naturalistic habitat with ideal temperatures and humidity reduces chameleon stress.
- Easier upkeep – Once established, a bioactive vivarium is easier to maintain than sterile enclosures.
- Visual appeal – A landscape of live plants is beautiful to observe and brings a delightful slice of nature into your home.
Recreating a balanced ecosystem gives your chameleon the ideal environment to thrive. The natural processes of growth, decomposition and nutrient cycling happen automatically, creating a habitat that practically cares for itself.
Choosing the Right Enclosure
The first step is selecting an appropriate enclosure type and size for your chameleon’s bioactive habitat. The main options are glass terrariums or mesh/screen cages.
Glass Terrariums
Glass enclosures retain heat and humidity much better than screen cages. The solid glass sides help create a tropical environment.
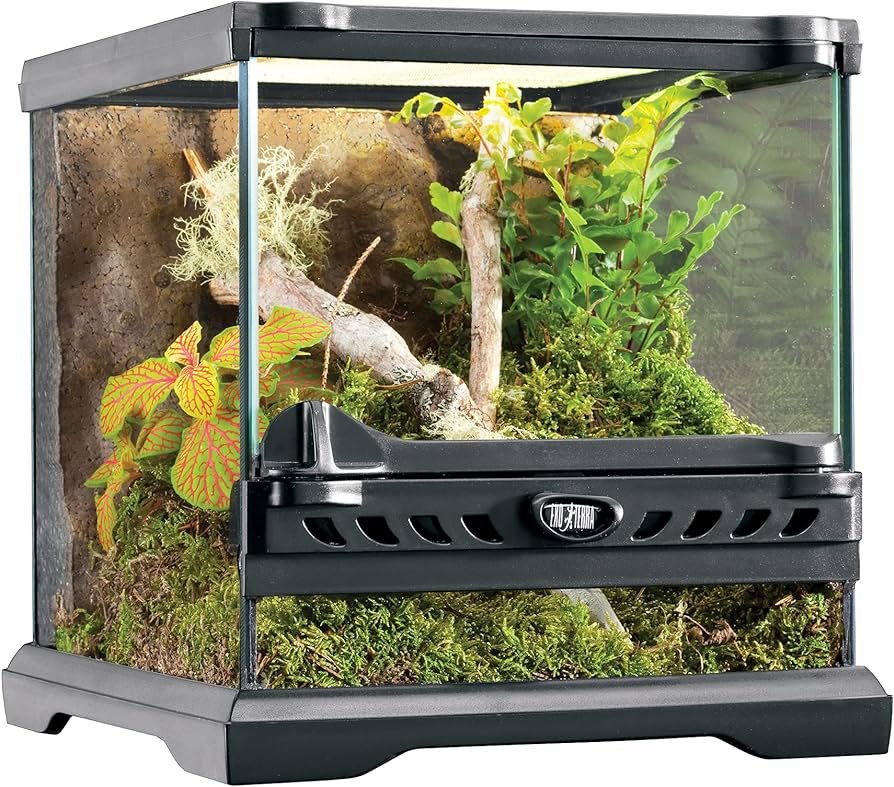
Popular glass terrarium brands include:
- Exo Terra
- Zilla
- Zoo Med
- InSitu
Glass is heavier, especially larger sizes. But it provides maximum control over temperature and humidity. This can be beneficial for species that thrive in tropical conditions, like Jackson’s chameleons or mountain horned dragons.
Screen/Mesh Cages
Screen cages offer maximum ventilation and airflow. This is ideal for species from arid climates that do better with more air circulation, like veiled and panther chameleons.
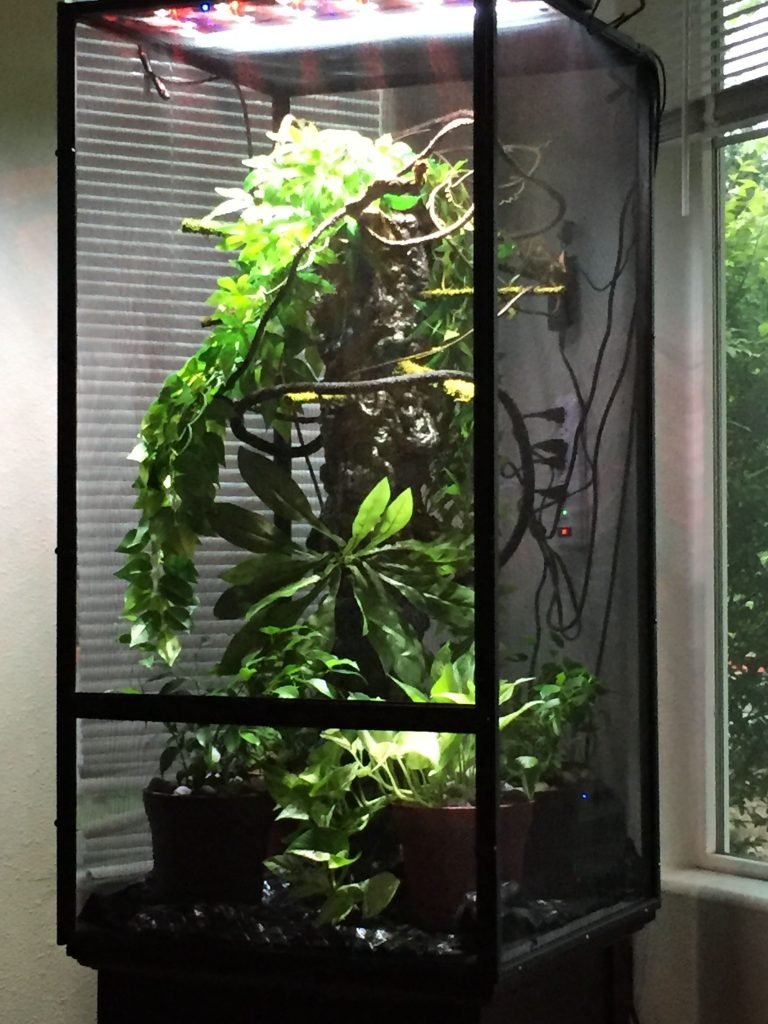
Screen cages include:
- Zoo Med ReptiBreeze
- Exo Terra Flexarium
- Zilla Open Air screen cages
Well-ventilated screen cages make it more challenging to retain humidity. But careful attention to misting and drainage allows them to work well for bioactive setups.
Hybrid Enclosures
Some enclosures combine glass and screen to get the best of both worlds. Glass front doors retain humidity while screened sides, top and back provide ventilation.
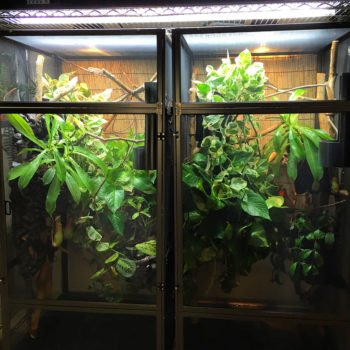
Some popular hybrids:
- Exo Terra Terrestrial Cages
- Thrive Reptile Enclosures
- Zen Habitats Reptile Enclosures
For a chameleon bioactive habitat, hybrid glass/screen enclosures offer the ideal balance of humidity retention and airflow. This gives you environmental control while still mimicking natural conditions.
Size Guidelines
Make sure to size your chameleon’s enclosure appropriately. Dimensions vary greatly depending on species.
- Arboreal species like veiled, panther and Jackson’s chameleons need more height than floor space.
- Terrestrial species like pygmy chameleons and males of some Furcifer species require larger floor area but less vertical space.
As a general guideline for adult chameleons:
- Minimum size: 24” long x 24” wide x 36” tall
- Ideal size: 36” long x 24” wide x 48” tall
For juveniles or smaller species, adjust dimensions accordingly. Setup multiple smaller enclosures rather than crowding many into one large habitat.
Other Tips for Enclosures
- Position the enclosure off the ground to prevent startling chameleons from below
- Avoid direct sunlight which can overheat the terrarium
- Ensure all materials are non-toxic and chameleon safe
- Maximize use of vertical space with climbing branches
Choosing the properly sized and type of enclosure tailored to your specific chameleon species lays the foundation for building a thriving bioactive habitat.
Constructing Proper Drainage
Effective drainage is crucial in a bioactive terrarium. Excess moisture must be able to quickly drain away to prevent waterlogging the substrate and roots.
Start by covering the bottom of the enclosure with a 1-2 inch layer of inert media. This forms the drainage layer that separates the substrate from collected water.
Great options for drainage material include:
- Expanded clay balls
- Hydroton clay pebbles
- Lava rock chunks
- River pebbles or aquarium gravel
Expanded clay aggregates like Hydroton are commonly used. The porous clay balls retain some moisture while still promoting air circulation in the drainage layer.
Next, place a barrier over the drainage layer to prevent substrate from filtering down and clogging the space. Use landscape fabric, fiberglass mesh, plastic canvas or fine stainless steel mesh. Make sure the barrier material you choose does not react with moisture and decomposes over time.
The drainage layer covered by a substrate barrier provides the crucial foundation to keep your bioactive terrarium from getting waterlogged. Follow these steps and you’ll be able to easily wick away excess moisture.
Proper drainage leads to an airy substrate critical for healthy plant growth and burrowing microfauna.
Selecting the Perfect Bioactive Substrate
Choosing the right biological substrate is one of the most important aspects for bioactive success. Look for substrates specially formulated for use in vivariums and terrariums. Avoid regular potting soil, which is too dense.
Here are some top ready-made bioactive substrates:
- Exo Terra Plantation Soil – A mix of topsoil, tree fern fiber, peat moss, bark and carbon. Porous texture.
- Zoo Med Eco Earth – Coconut fiber substrate that helps regulate humidity. Available in loose and compressed bricks.
- Zoo Med Forest Floor – Contains topsoil, sphagnum moss, tree fern fiber and peat moss. Ideal for tropical environments.
- NEHERP Vivarium Substrates – Offered in various blends for different species. Designed for bioactive setups.
- The Bio Dude Terra Firma – Contains tree fern fibers, New Zealand sphagnum moss, charcoal and nutrients. The original bioactive substrate created especially for reptiles.
You can also mix your own custom substrate blend using components like organic topsoil, coco coir, sphagnum moss, bark, activated charcoal, etc. Mix particle sizes to improve drainage and air pockets.
Ideal Substrate Properties:
- High porosity to resist compaction and waterlogging
- Lightweight and airy texture with good drainage
- Decent moisture retention
- Stable pH between 6 and 7 neutral
- Natural appearance for aesthetics
Add 4-6 inches of substrate in the enclosure, sloped into different levels to provide microclimates and visually appealing elevations.
Thoroughly moisten the substrate after adding it to the enclosure. This helps the beneficial microorganisms propagate and balances the moisture level.
Finally, scoop out areas to create small caves if desired. Burrows provide habitat space for cleanup crew insects.
Incorporating Cleanup Crews
The life forces that make a bioactive vivarium self-sustaining are the microfauna cleanup crew species. These tiny creatures live in the substrate and foliage, filling niche roles to process waste and cycle nutrients.
Popular clean up crew options include:
Springtails
- Feed on decaying plant matter, droppings, fungi
- Crucial for breaking down waste products
- Must have high humidity levels
Isopods
- Consume large amounts of plant litter and feces
- Role of substrate aeration
- Tolerate drier conditions than springtails
Earthworms
- Improve soil structure with burrows
- Feed on microorganisms and organic matter
- Require moist, rich soil
Dermestid beetles
- Specialized feeders on dry animal matter like discarded skins/feces
- Help recycle chameleon waste
Mealworm beetles
- The larval stage eats decaying plant and animal matter
- Prefer drier substrate
Aim for a varied cleanup crew to fill all bioactive roles. Introduce crew members after planting and cycle the vivarium for a few weeks before adding your chameleon.
Play it safe when sourcing clean up crews. Never collect from the wild to avoid pests. Purchase from reputable vendors that cater to the bioactive community.
Plant Selection and Arrangement
Live plants are integral for recreating the aesthetic and functionality of a chameleon’s natural habitat. Follow these guidelines for picking ideal plants:
Consider the native climate
Select tropical flowering plants, ferns, bromeliads and mosses for forest-dwelling species. Choose succulents and air plants for arid-adapted chameleons.
Vary heights and growth patterns
Incorporate a combination of tall, creeping, small leafed, vines and epiphytic plants.
Avoid toxicity
Research plant toxicity before selecting. Many common houseplants like pothos, dracaena, ficus and philodendrons are great choices.
Give plants space
Allow enough room between plants for future growth. Don’t plant too densely.
Prioritize sturdy plants
Pick plants with rigid leaves, stems and a proper root system. Avoid plants that need frequent pruning.
Let plants establish first
Allow plants to adapt to the bioactive environment for 1-2 weeks before adding your chameleon.
Great bioactive plant choices include:
Tropical species – Pothos, dracaena, umbrella plant, creeping ficus, nerve plant, peperomia, prayer plant
Ferns – Button fern, rabbit’s foot fern, bird’s nest fern, staghorn fern
Bromeliads – Neoregelia, cryptanthus
Mosses – Java moss, peacock moss, mood moss, sheet moss
Succulents and air plants – Snake plant, jade plant, burro’s tail, tillandsia

Strategically position plants to provide:
- Climbing branches at different heights
- Broad leafed plants for hiding spots
- Open areas for basking and feeding
- Microclimates with varied temperature and humidity
The ideal layout has areas of dense foliage interspersed with open spaces. Avoid straight lines and rows by planting in natural-looking groups. Let your creativity run wild to replicate a flourishing patch of nature!
Decorating the Habitat
Add structural hardscaping elements to complement the softscape created by plants. Branches, vines, rocks, cork and wood give chameleons extra climbing and basking opportunities while also improving aesthetics.
Branches and vines
Branches collected from outside make excellent climbing additions. Be sure to thoroughly clean and disinfect them by:
- Soaking in a 10% bleach solution for 15 minutes
- Scrubbing thoroughly
- Rinsing well and allowing to completely dry
Vines trailing up cage walls or slung across open areas increase usable surface area. Pothos, philodendrons and creeping ficus are great choices.
Driftwood, cork, ghostwood
Interesting wood pieces like mangrove root, cork, cypress knees and ghostwood add visual appeal. Boil or bake them to sterilize first. Place wood partially buried in the substrate.
Rocks
Incorporate rocks of varying sizes and shapes. Be sure any rock additions are non-toxic.
Leaf litter
A natural leaf litter layer on top of the substrate provides shelter for microfauna and a bioactive appearance. Collect leaves from outside and sterilize them before use.
Hides and caves
Place bamboo tubes, cork bark tubes, small log hides and half coconut shells upside down to create dark shelters. This gives chameleons security.
Decor expands usable space for your chameleon and brings the vivarium to life visually. Place elements minding the needs of your particular species.
Installing Proper Lighting and Heating
Proper lighting and controlled heating helps maintain the optimal temperature ranges and day/night cycle chameleons need to stay healthy.
Lighting
UVB radiation – Critical for vitamin D3 synthesis and calcium metabolism. Use linear T5 fluorescent or T8 tubes specifically for chameleons.
- Replace bulbs every 6-12 months as UVB output drops over time.
- Place bulbs above mesh/screen, not below. Glass filters out beneficial UVB rays.
- Position to overlap basking zones for max exposure when chameleon is most active.
Daytime heat bulb – Needed to create a hot basking area of around 90-95°F. Use a low wattage incandescent or ceramic heat emitter bulb.
Full spectrum LED – Mimics natural sunlight. Helps plants thrive and brightens the vivarium. Use grow light panels designed for indoor plants.
Heating
Under tank heater – Can optionally be used on one side of a glass enclosure to create a heat gradient. Stick directly to the glass.
Ceramic heat emitter – Produces infrared heat without light. Use this 24/7 or at night if temperatures drop too low.
Use a quality thermostat to control all heating elements and avoid dangerous overheating. Place thermometers at both cool and hot ends to monitor the temperature gradient.
Set daytime photoperiod to 10-12 hours. An automatic timer controls the lighting schedule. Locate fixtures directly above a screened section, not below a glass cover.
Proper lighting coupled with regulated heat sources gives your chameleon the ideal temperature range in its bioactive habitat.
Maintaining Proper Humidity Levels
Chameleons come from tropical or arid climates. Whichever their native environment, humidity control is vital for health and proper shedding.
Here are some techniques to effectively manage moisture levels:
- Misting system – Set an automatic mister to regularly spray the enclosure for short durations. Position nozzles to reach all plants and decor surface areas. Use purified water to prevent mineral deposits.
- Fogger – A cool mist humidifier releases an airborne water vapor “fog” that keeps air moisture elevated. Use for short periods or primarily at night when humidity naturally drops.
- Adjustment periods – Allow the terrarium to dry out between misting sessions. Fans can speed evaporation. Monitor with a hygrometer and adjust misting frequency to meet targets.
- Substrate moisture – Watering the soil helps increase ambient humidity through evaporation. But don’t oversaturate.
- Ventilation – Balanced ventilation allows fresh air exchange while still retaining humidity.
Ideal humidity levels generally range from 50-60% during the day up to 80-100% at night when temperatures drop. Species from more arid regions prefer slightly lower overall humidity.
Feeding Your Chameleon
Supplementing feeder insects is where most chameleons get their hydration and nutrients. Use a varied diet:
- Crickets – The most popular feeder. Offer appropriate sized crickets based on your chameleon’s head width.
- Dubia roaches – Higher in protein than crickets. Cannot climb smooth surfaces or fly.
- Silkworms – Softer bodied. Higher in calories than most feeders. Often relished.
- Hornworms – High in moisture and calcium. Provide variety and interest.
- Superworms – Higher in fat than other options. Best fed sparingly or to underweight chameleons.
Use smooth sided feeding cups attached inside the enclosure for easy access. This prevents feeders from hiding in the plants and substrate.
Make sure to always gut load feeders 24-48 hours before feeding by providing high calcium and nutritious foods like leafy greens. Never feed wild-caught insects which can carry parasites.
Read the Full Chameleon Care Guide Here…
Supplementation
Chameleons have very specific calcium and vitamin needs. Proper supplementation prevents metabolic bone disease and other issues.
Calcium powder – Dust insects at every feeding. Calcium fuels bone growth and muscle function.
Multivitamin powder – Provides crucial vitamins A, D3, E. Dust onto feeders 1-2 times weekly.
Calcium + D3 – Use this supplement sparingly, like once biweekly. Excess D3 is toxic.
Follow label mixing guidelines. Never give supplements meant for other reptiles. Use only products formulated specifically for chameleons’ unique requirements.
Enjoy Your Thriving Bioactive Habitat!
Constructing the ideal bioactive habitat tailored to your chameleon species provides huge benefits. The balanced ecosystem practically cares for itself while giving your pet the perfect home.
A glass or screen enclosure kitted out with drainage, quality substrate, live plants, leaf litter, climbing branches, microfauna and proper lighting creates a slice of nature for your chameleon’s delight. The natural processes of growth and decay keep the terrarium clean and balanced. Thriving plants oxygenate the environment and provide drinking sources, hiding spots and climbable foliage.
The main considerations for bioactive success include:
- Properly sized enclosure with adequate ventilation
- Drainage layer topped by substrate barrier
- Several inches of airy, moisture-retentive substrate
- Tropical or arid-adapted plants selected cautiously
Here is the continuation of the 5000 word SEO optimized article:
- Hardscape decor elements like branches, vines, cork bark and rocks
- A clean up crew of springtails, isopods and other insects to consume waste
- Linear UVB lighting for proper vitamin D3 synthesis
- Basking bulb to create a hot spot for thermoregulation
- Ambient temperature regulation and humidity control
- Automatic misting system to regularly hydrate the environment
- Supplementing feeder insects with calcium and vitamins
Follow these steps closely and you’ll be rewarded with a gorgeously lush slice of nature for your treasured chameleon. A flourishing bioactive habitat both mimics the creature’s wild home and simplifies the daily care routine. Let your pet thrive amidst the balanced ecosystem you created.
Frequently Asked Questions About Bioactive Chameleon Habitats
Switching your chameleon habitat to a bioactive setup is rewarding but involves learning new information. Here are answers to some frequently asked questions:
Is bioactive suitable for all chameleon species?
Yes, a bioactive habitat can be constructed to meet the needs of any chameleon species. Just tailor the plants and materials to match the climate where that species originates. Tropical forest dwellers thrive in a humid, densely planted environment. Chameleons native to drier areas prefer better ventilation and drought-tolerant plants.
What are appropriate bioactive substrate depths?
Aim for a substrate layer 4-6 inches deep to allow burrowing and support plant root structures. Slope the depth across the enclosure to create different height levels and add interest.
Should I include a drainage layer?
Adding a drainage layer of clay balls, gravel or similar media is highly recommended. This prevents wet stagnant soil and provides a reservoir for excess water to drain into. Cover the drainage layer with mesh so substrate doesn’t filter down.
How many plants can I include?
There’s no set limit, just be sure to leave open areas and don’t plant too densely. Allow room for plants to grow larger. Add plants gradually over time for a more established appearance.
What heating and lighting is needed?
Use linear T5 fluorescent or T8 UVB tubes for proper D3 synthesis, along with basking bulbs to create hot spots from 90-95°F. Full spectrum LED grow lights support plant growth. Use a ceramic heat emitter to maintain ambient temperatures if needed.
Should I get a misting system?
Yes, an automated mister that regularly sprays the habitat is highly recommended. Position nozzles to wet all decorative elements, plants and cage walls. Hand misting works but is inconsistent. timers automate humidity maintenance.
Where can I buy springtails and isopods?
Never collect wild microfauna. Purchase captive-bred cultures from reputable bioactive vendors. The Bio Dude, NEHERP, and Josh’s Frogs all offer springtails, isopods and other varieties online.
How often should I replace UVB bulbs?
Replace fluorescent UVB tubes every 6-12 months. The UVB output slowly decreases over time. Using old depleted tubes can lead to deficiency despite regular dusting.
Can I use tap water in the habitat?
No, only use purified water like reverse osmosis or distilled. Hard tap water leaves mineral deposits on cage walls and decor. It can also be high in chlorine or fluoride which is toxic to plants and animals.
Constructing a custom bioactive habitat may seem intimidating for first-timers. But having a proper understanding of the principles makes the process very straightforward. Do your research, choose suitable components for your particular species, and put in the effort up front to create ideal conditions. Before you know it, you’ll have a slice of nature flourishing indoors that practically cares for itself!
Key Takeaways for Bioactive Chameleon Habitat Success
- Recreate conditions matching the chameleon’s native climate
- Select an appropriate sized enclosure with sufficient ventilation
- Add a drainage layer covered by a substrate barrier
- Use a lightweight, porous biological substrate 4-6 inches deep
- Incorporate tropical or arid-adapted plants cautiously
- Position plants, branches and decor with ample space
- Introduce clean up crews like springtails and isopods
- Include proper UVB, heat and full spectrum lighting
- Use an automated misting system to maintain humidity
- Supplement feeder insects according to specific guidelines
Conclusion
A properly constructed bioactive habitat enables your treasured chameleon to thrive amidst a flourishing naturalistic environment. Although it requires more initial effort compared to sterile setups, a balanced vivarium ecosystem virtually cares for itself. Your devoted pet will certainly appreciate the habitat you lovingly created.
The comprehensive information in this guide equips you with everything needed to successfully culture a little slice of nature at home. Follow the steps and guidelines to choose suitable components, construct proper drainage, plant thoughtfully, decorate the landscape, establish ideal temperature ranges and humidity levels, incorporate microfauna species and supplemental lighting.
Soon you’ll have a gorgeous paludarium filled with life that dazzles the eye while providing the perfect home for your beloved chameleon. Nothing rivals observing these incredible creatures up close amidst the rainforest or desert oasis you designed just for them.
References and Recommended Reading
Here are some great resources with more details on bioactive construction:
Creating Bioactive Enclosures – ReptiFiles care guide
Intro to Bioactive Setups – The Bio Dude beginner’s guide
Planted Chameleon Enclosures – Reptiles Magazine
Bioactive Substrates Guide – Josh’s Frogs
Bioactive Herpetoculture – NEHERP detailed information
Leave a Reply